Main Menu
| Project |
| Partners |
| Testbeds |
| CMFs |
| Self-learning |
| Start using FIBRE |
| How to join |
| Publications |
| Media and outreach |
| Info |
Who's Online
We have 4 guests onlineVIDEOS
Get the Flash Player to see this player.
| OMF |
|
STEP 0: Login and discovering available resources
Access the OMF portal at: https://omf.fibre.org.br
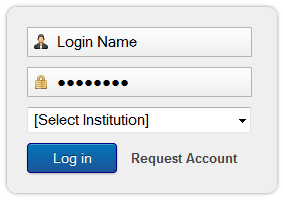
Login using your username and selecting the institution that authorized your account.
After the login, you will be redirected to the reservation page (Step 1). However, it might take some time to search for the available wireless nodes in all islands. During this process, you will see a message like that:
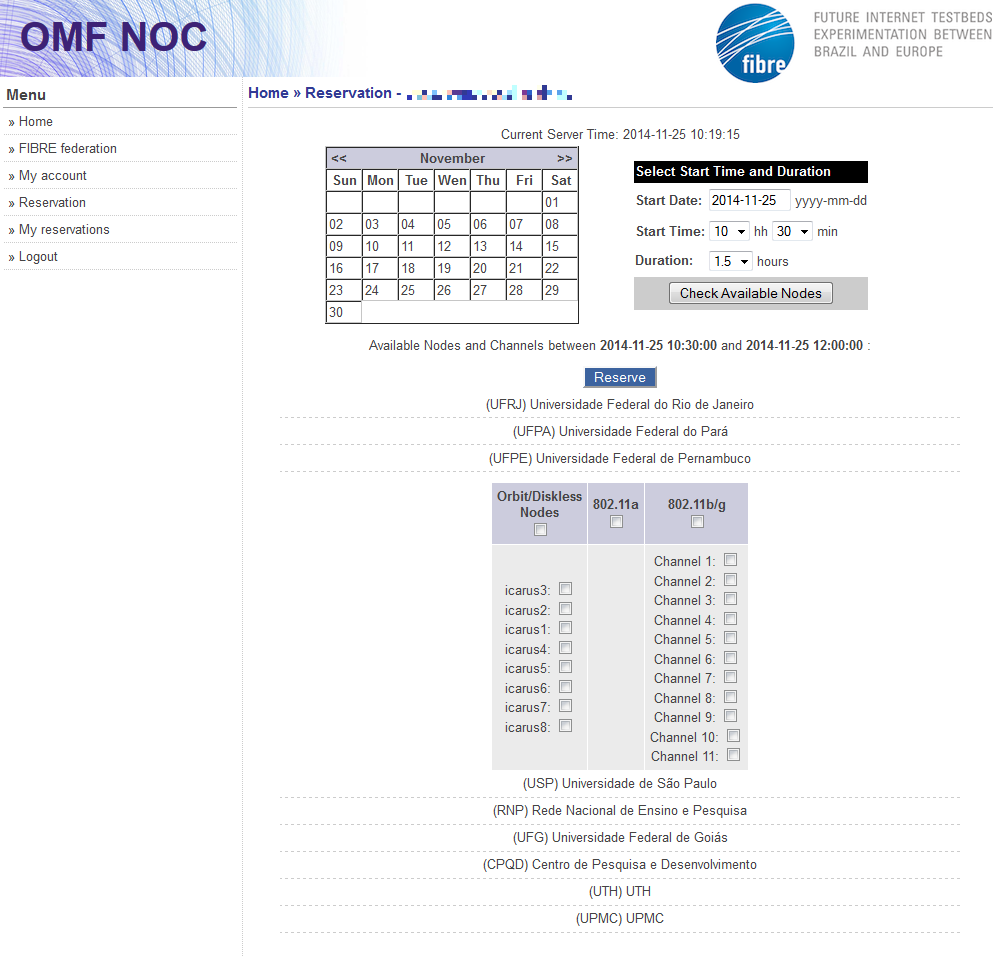
STEP 1: Reservation of wireless nodesTo make a reservation execute the follows steps: a) Select the date, the start time and the duration of your experiment and click on Check Available Nodes button. A new search will be performed to verify the availability of nodes during the requested period.
After the system search, will be displayed a list of available nodes in the requested period.
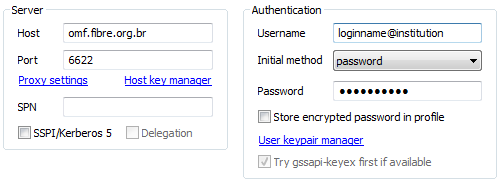
b) Select the institution (island) and the nodes you would like to reserve for your experiment. Click on Reserve button to confirm your reservation. * If you would like make more reservations, click on the "Reservation" link in the left menu and repeat the steps (a) and (b). c) You can verify and manage your current and past reservations clicking on the My Reservation link on the left side menu. STEP 2: Running an ExperimentAccessing to the Testbed:To access the reserved wireless nodes, you need to SSH using the following command, replacing the bracketed information by yours. Windows users are advised to use SSH clients such as Bitvise or PuTTY. ssh -p6622 [loginname]@[institution-acronym]@omf.fibre.org.br For Windows SSH clients:
The home user directory will be created automatically after first login (/home/br/[institution-acronym]/[user]). Executing a experiment:From now on, we assume that the user must know the OMF Experiment Description Language (OEDL). However, you will find a "hello world" experiment in the Home user directory. Look for the file "hello_world.rb" and edit it to customize the parameters according to the reserved nodes. To execute the Hello World experiment, run the following command replacing the bracketed information by yours: omf exec [experiment_filename].rb For example: omf exec hello_world.rb It will take some time to initialize the nodes before running the experiment. Collecting the experiment results:For each experiment executed, is displayed on the third and last lines of the screen log, the experiment's identifier - an string sequence on the format "[user]-[institution-acronym]-federation_slice-[Date]t[Hour]-[timezone]", where the fields [Date] and [Hour] show the value of the Date and Hour that the experiment was executed. This experiment's identifier is related to the files which hold the information about the experiment, like log and XML of topology files. This files are holds on the directory /tmp/. For each experiment is also stored a set of measurements. To download this result, run the follows command replacing the bracketed information by yours: wget http://[XMPP server]:5054/result/dumpDatabase?expID=[experiment's identifier] -O [destination-filename] For example: wget http://xmpp.noc:5054/result/dumpDatabase?expID=user-institution-acronym-federation_slice-2014-05-21t13.59.57-03.00 -O myDatabase If you are on the OMF console is it possible make a dump of these measurements replacing the server XMPP URL or IP address to localhost.
Example: user-institution-acronym-federation_slice-2014-05-21t13.59.57+00.00 Accessing the node:If necessary to change any files or configuration in the reserved nodes, the access can be done by SSH client using "root" user without password. ssh root@[node IP] For example: ssh This e-mail address is being protected from spambots. You need JavaScript enabled to view it .1
Load image into node: This step is not mandatory. But, before use the node for experimentation is recommend load the images inside nodes. This procedure ensures that configuration of the system will be restored, because it another experimenter could have used the nodes in the past and modified the Operational System (drivers, configuration files, applications and so on). The images stays stored in /var/lib/omf-images-5.4, but is not necessary still into directory to load images (the OMF yet finds the image in this directory - just inform the name of image). A image can be load into one or more nodes using only one command. To load a image into a set of nodes, run the follows command replacing the bracketed information by yours: omf load -i [image-filename] -t [list of nodes] For example: omf load -i baseline.ndz -t omf.ufg.node1,omf.ufg.node2 WARNING: this procedure can be take a some minutes. After to load an image into nodes, is suggested put a password from the user or use the public/private authentication. Save image from node:After make changes in the image loaded into one node is it possible save this changes (state of node) like as a new image. To do this run the follows command replacing the bracketed information by yours: omf save -n [HRN of the node] For example: omf save -n omf.ufg.node1 The images saved stays stored into directory /var/lib/omf-images-5.4 ADDITIONAL LINKS |


